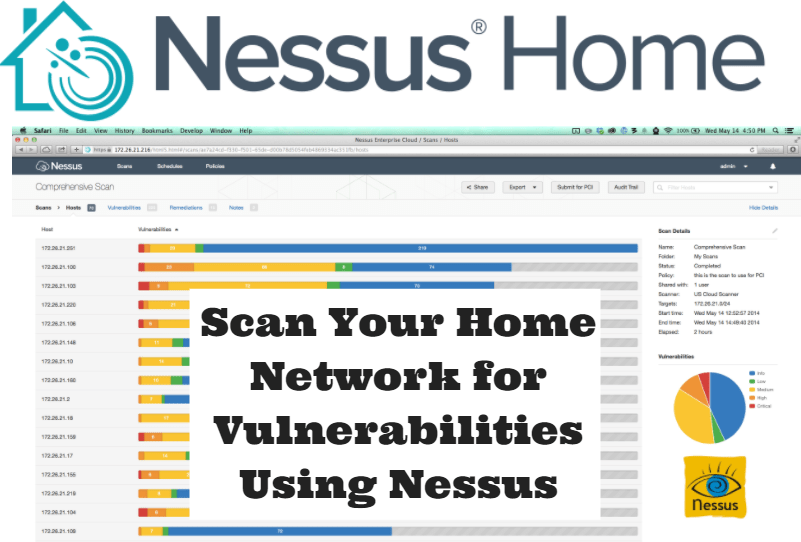
Nessus is a proprietary vulnerability scanner created by Tenable, Inc. It is free to home users for personal use (Nessus Home), but requires a license for commercial use (Nessus Professional). Obviously, the commercial version comes with more features, but this does not in any way degrade the effectiveness of Nessus Home. With Nessus Home, users can scan up to 16 IP addresses at high speeds with in-depth assessments. To download Nessus Home, obtain an activation code by subscribing with your name and e-mail address and then download the latest version of Nessus Home for your operating system.
Nessus features several practical uses for cybersecurity professionals. Nessus offers users the ability to create policies for customized scans by enabling dozens of available plugins, which allow users to conduct scans that easily identify specific vulnerabilities on the system they’re scanning. Additionally, the results of these scans are clearly organized and easy enough for end-users with little-to-no background experience to understand. The results of each scan are quickly separated into five levels of criticality: info, low, medium, high, and critical. Furthermore, the results are supplemented with vulnerability details and countermeasures for remediation.
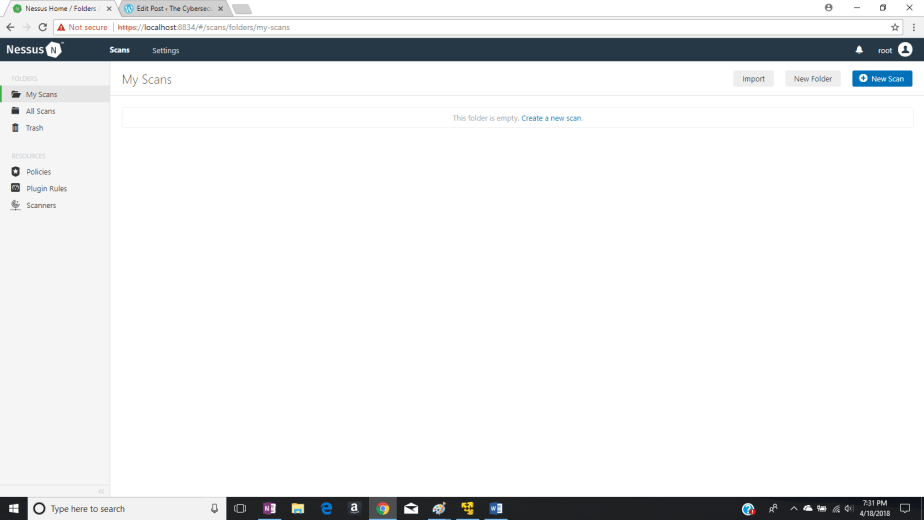
Once you’ve downloaded Nessus Home, the Nessus server will be running on your local machine on port 8834. You can point your browser to the Nessus Home Web console by navigating to https://localhost:8834.
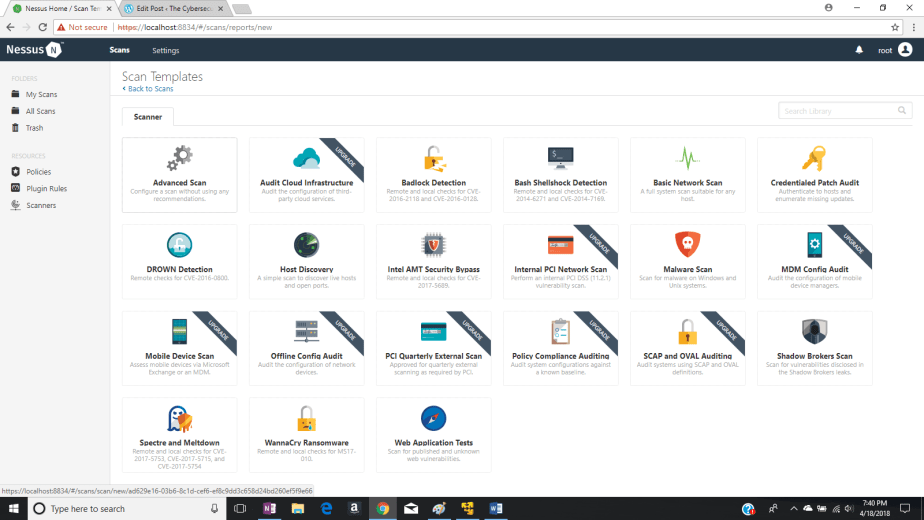
Click the New Scan box on the top right of the window. This will take you to the Scan Templates screen where you can select several different custom scans. For example, you can choose a “Basic Network Scan,” which scans live hosts on your network for basic vulnerabilities. You can choose scans that detect very specific vulnerabilities, such as Badlock (CVE-2016-2118 and CVE-2016-0128), DROWN (CVE-2016-0800), and even the vulnerabilities discovered by the Shadow Brokers! There are some scan templates that require an upgrade, however, available in the commercial version, Nessus Professional. Choose the Advances Scan template.
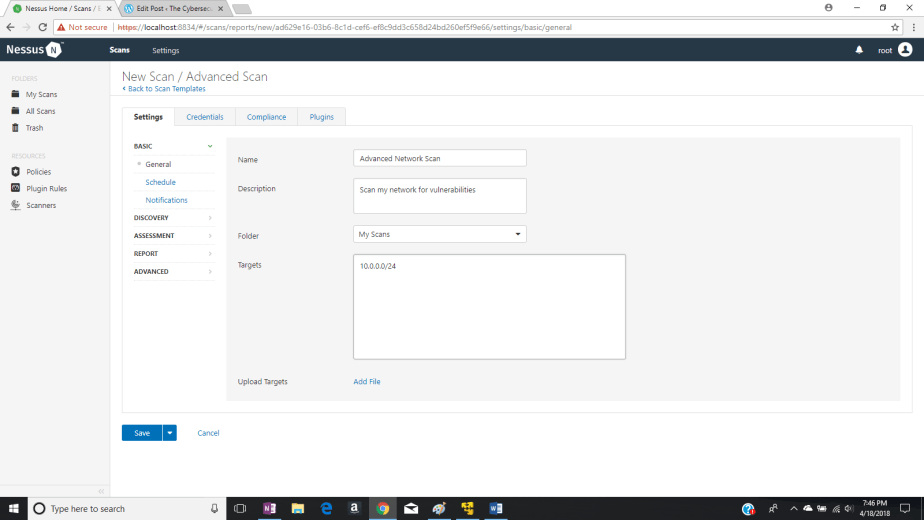
Clicking the Advanced Scan template takes you to the New Scan/Advanced Scan window. Under settings, you’ll need to provide a name for your new scan. I’ll call my scan “Advanced Network Scan.” After that, I’ll provide a brief description of the purpose of this scan in the Description box. The results of the scan will dump to My Scans by default. In the Targets box, I’ll specify which devices I want to scan for vulnerabilities, which in my case, will be my home network. Therefore, I’ll type the 10.0.0.0 network with subnet mask 255.255.255.0. This should be abbreviated to CIDR notation, 10.0.0.0/24. If you want to just scan your local system or your home router, specify the IP address of that device only. You can easily determine what these IP addresses are by typing the ipconfig command in the command terminal for windows or ifconfig for Linux and Mac OS X.
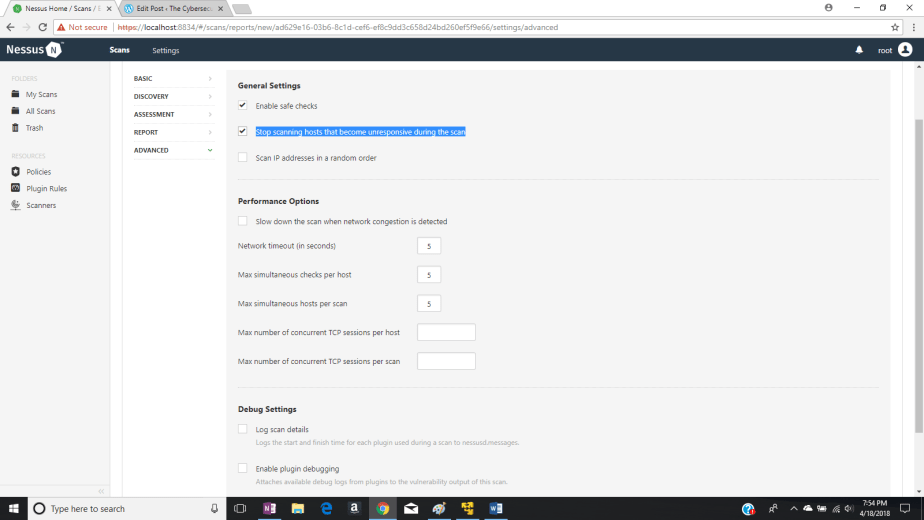
If you’d like, you can navigate to the Schedule tab if you’d prefer to frequently scan your network using this scan. Here, you can schedule this scan daily, weekly, monthly, or yearly. Under the Notifications tab, you can have Nessus send you an alert via e-mail when the scan is finished. The scan itself shouldn’t take too long for a home network. By default, a large set of plug-ins will already be selected for your home network. You can’t do any compliance checks on Nessus Home, so don’t worry about that one. We’ll leave the other tabs at their default settings except for the Advanced tab. under this tab, check the Stop scanning hosts that become unresponsive during the scan box and then click Save at the bottom.
This will take you to the My Scans folder where your scan is ready to launch. IMPORTANT: temporarily disable your anti-virus before the scan or at least disable the software’s intrusion prevention capability. If it’s enabled, your anti-virus could block the scans coming from your local machine. After that, click the “Play” button to the right of your scan to launch.

Click the scan again and wait for Nessus to locate active hosts on your network and discover vulnerabilities. You’ll know the scan is complete when each host reaches 100%. From my results, 54 vulnerabilities were discovered on my network, but none were high or critical. About 80 percent were just info and the other 20 percent being low or medium vulnerabilities.

You can click each host and individually search through their vulnerabilities. By clicking on a vulnerability, you can get more details about the vulnerability, and recommended suggestions for remediation. For example, I’ll click on a medium vulnerability for my router at 10.0.0.1, as shown below.
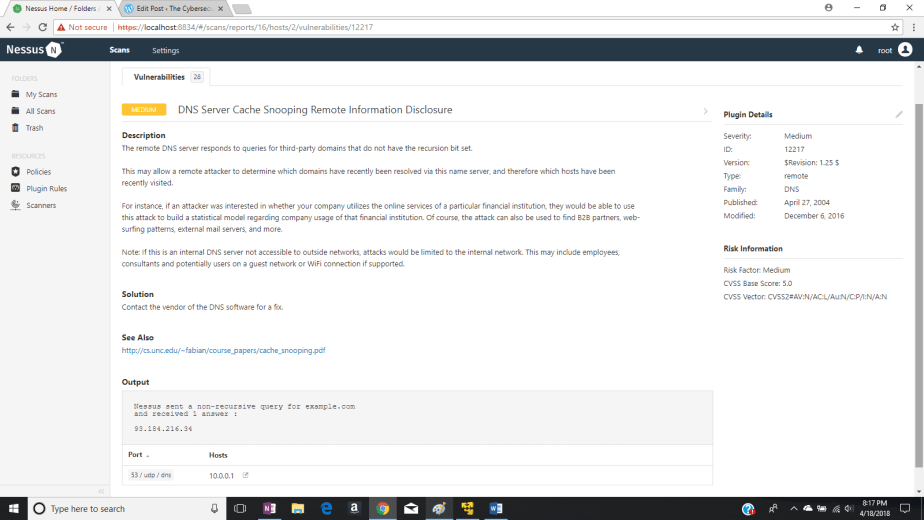
Nessus has discovered a vulnerability in which the remote DNS server (my recursive or local DNS server) responded to a query on UDP port 53 for third-party domains that do not have the recursion bit set. This may allow a remote attacker to determine which domains have recently been resolved by my local DNS server, and therefore which hosts have been recently visited. This isn’t a major vulnerability, but Nessus always suggests a countermeasure. In this case, it suggests I contact the vendor of the DNS software for a fix.
If you discovered any high or critical vulnerabilities on your network, I would highly suggest you remediate them. Hope this helps!
